Provider – Google

1. App creation
To be able to log in via Facebook you must create a Facebook app first.
- 1. Navigate to https://developers.facebook.com/apps/
- 2. Log in with your Google credentials if you are not logged in.
- 3. If you don’t have a project yet, you’ll need to create one. You can do this by clicking on the blue “Create Project” text on the right side! ( If you already have a project, then in the top bar click on the name of your project instead, which will bring up a modal and click “New Project”. )
- 4. Name your project and then click on the “Create” button again!
- 5. Once you have a project, you’ll end up in the dashboard. ( If earlier you have already had a Project, then make sure you select the created project in the top bar! )
- 6. Click the “OAuth consent screen” button on the left hand side.
- 7. Choose a User Type according to your needs and press “Create”. If you want to enable the social login with Google for any users with a Google account, then pick the “External” option!
Note: We don’t use sensitive or restricted scopes either. But if you will use this App for other purposes too, then you may need to go through an Independent security review!
- 8. Enter a name for your App to the “App name” field, which will appear as the name of the app asking for consent.
- 9. For the “User support email” field, select an email address that users can use to contact you with questions about their consent.
- 10. Under the “Authorized domains” section press the “Add Domain” button and enter your domain name, without subdomains! E.g.: example.com
- 11. At the “Developer contact information” section, enter an email address that Google can use to notify you about any changes to your project.
- 12. Press “Save and Continue” then press it again on the “Scopes”, “Test users” pages, too!
- 13. On the left side, click on the “Credentials” menu point, then click the “+ Create Credentials” button in the top bar.
- 14. Choose the “OAuth client ID” option.
- 15. Select the “Web application” under Application type.
- 16. Enter a “Name” for your OAuth client ID.
- 17. Under the “Authorised redirect URIs” section click “Add URI” and add the URL that W3 Social Login suggests at the backend!
- 18. Click on the “Create” button
- 19. A modal should pop up with your credentials. If that doesn’t happen, go to the Credentials in the left hand menu and select your app by clicking on its name and you’ll be able to copy-paste the “Client ID” and “Client Secret” from there.
- 21. Currently your App is in Testing mode, so only limited number of people can use it. To allow this App for any user with a Google Account, click on the “OAuth consent screen” option on the left side, then click the “PUBLISH APP” button under the “Publishing status” section, and press the “Confirm” button.
2. App setup
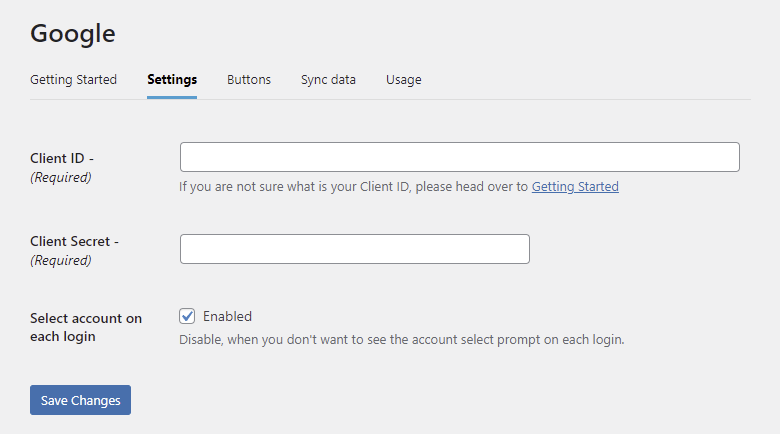
Once your Google app is ready you’ll need to copy and paste the Client ID and Client Secret to the Google provider’s Settings tab. You can find the information at your Google app’s Settings which you can reach from the left sidebar.
3. Verifying
Once your Client ID and Client Secret has been added you need to verify the setup first. This verification helps you identify possible problems with the app.
Settings

Client ID
The Client ID of your Google app. You can find it at left menu: Credentials → select your App.
Client Secret
The Client Secret of your Google app. You can find it at left menu: Credentials → select your App.
Select account on each login
When enabled, Google will display the account select prompt each time the user logs in with the Google provider.

Username prefix on Register
Whenever a new user registers with their Google account they can get a custom prefix so you can easily identify them.
Fallback username prefix on register
Whenever a new user registers with their Google account and we can not generate a valid username from the first name or last name, a random username will be generated. With this option they can get a custom prefix so you can easily identify them.
Sync data
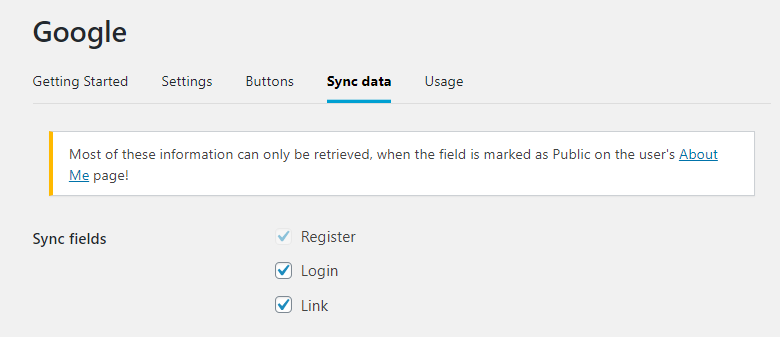
By default W3 Social Login stores the first name, last name, email, avatar url and access token if it is possible, however some additional information can also be retrieved and stored.
When an option is checked, that field will be stored in a meta key with the specified name.

Sync fields
It determines when the synchronization shall happen.
- Register: whenever a new user registers with a provider, their data will be retrieved and stored.
- Login: whenever user logs in with a provider, their data will be retrieved and stored.
- Link: whenever user links and existing WordPress account with a provider, their data will be retrieved and stored.
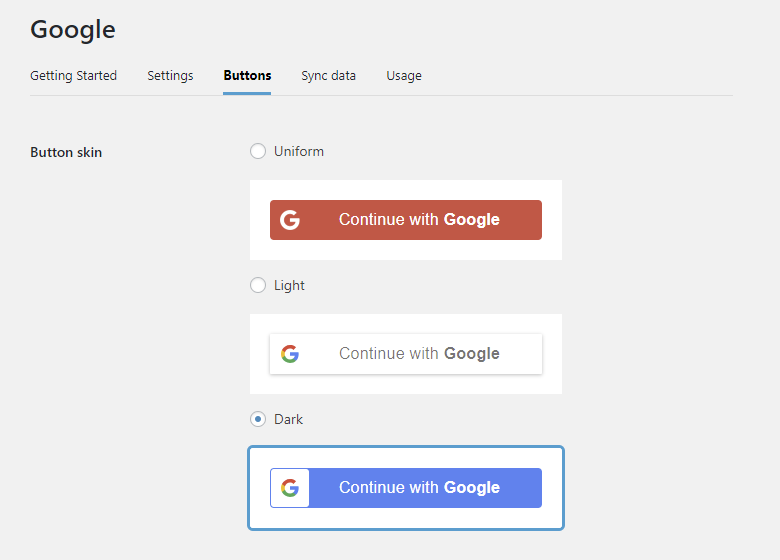
Google Sign-In Branding Guidelines compatibility
According to the Google Sign-In Branding Guidelines, the button need to comply with some requirements. At the buttons tab of the Google provider, there are predefined skins (light and dark), which comply with those requirements.


